


Create your first upload form
The fastest way to start receiving files is to publish a basic upload form, then customize it later. This guide covers exactly that, using Google Drive and the default form so you can be up and running quickly.
You'll do this in three parts: connect a cloud account, build the form and pick its destination, then publish and share it.
Connect a cloud account
Files uploaded through your forms are delivered to your own cloud storage, so you connect a cloud account first and pick a folder inside it as the destination. This walkthrough uses Google Drive.
- In the left sidebar, click Cloud Connections.
- Choose Google Drive. The first time you connect, the cloud provider options appear right on the Cloud Connections page.
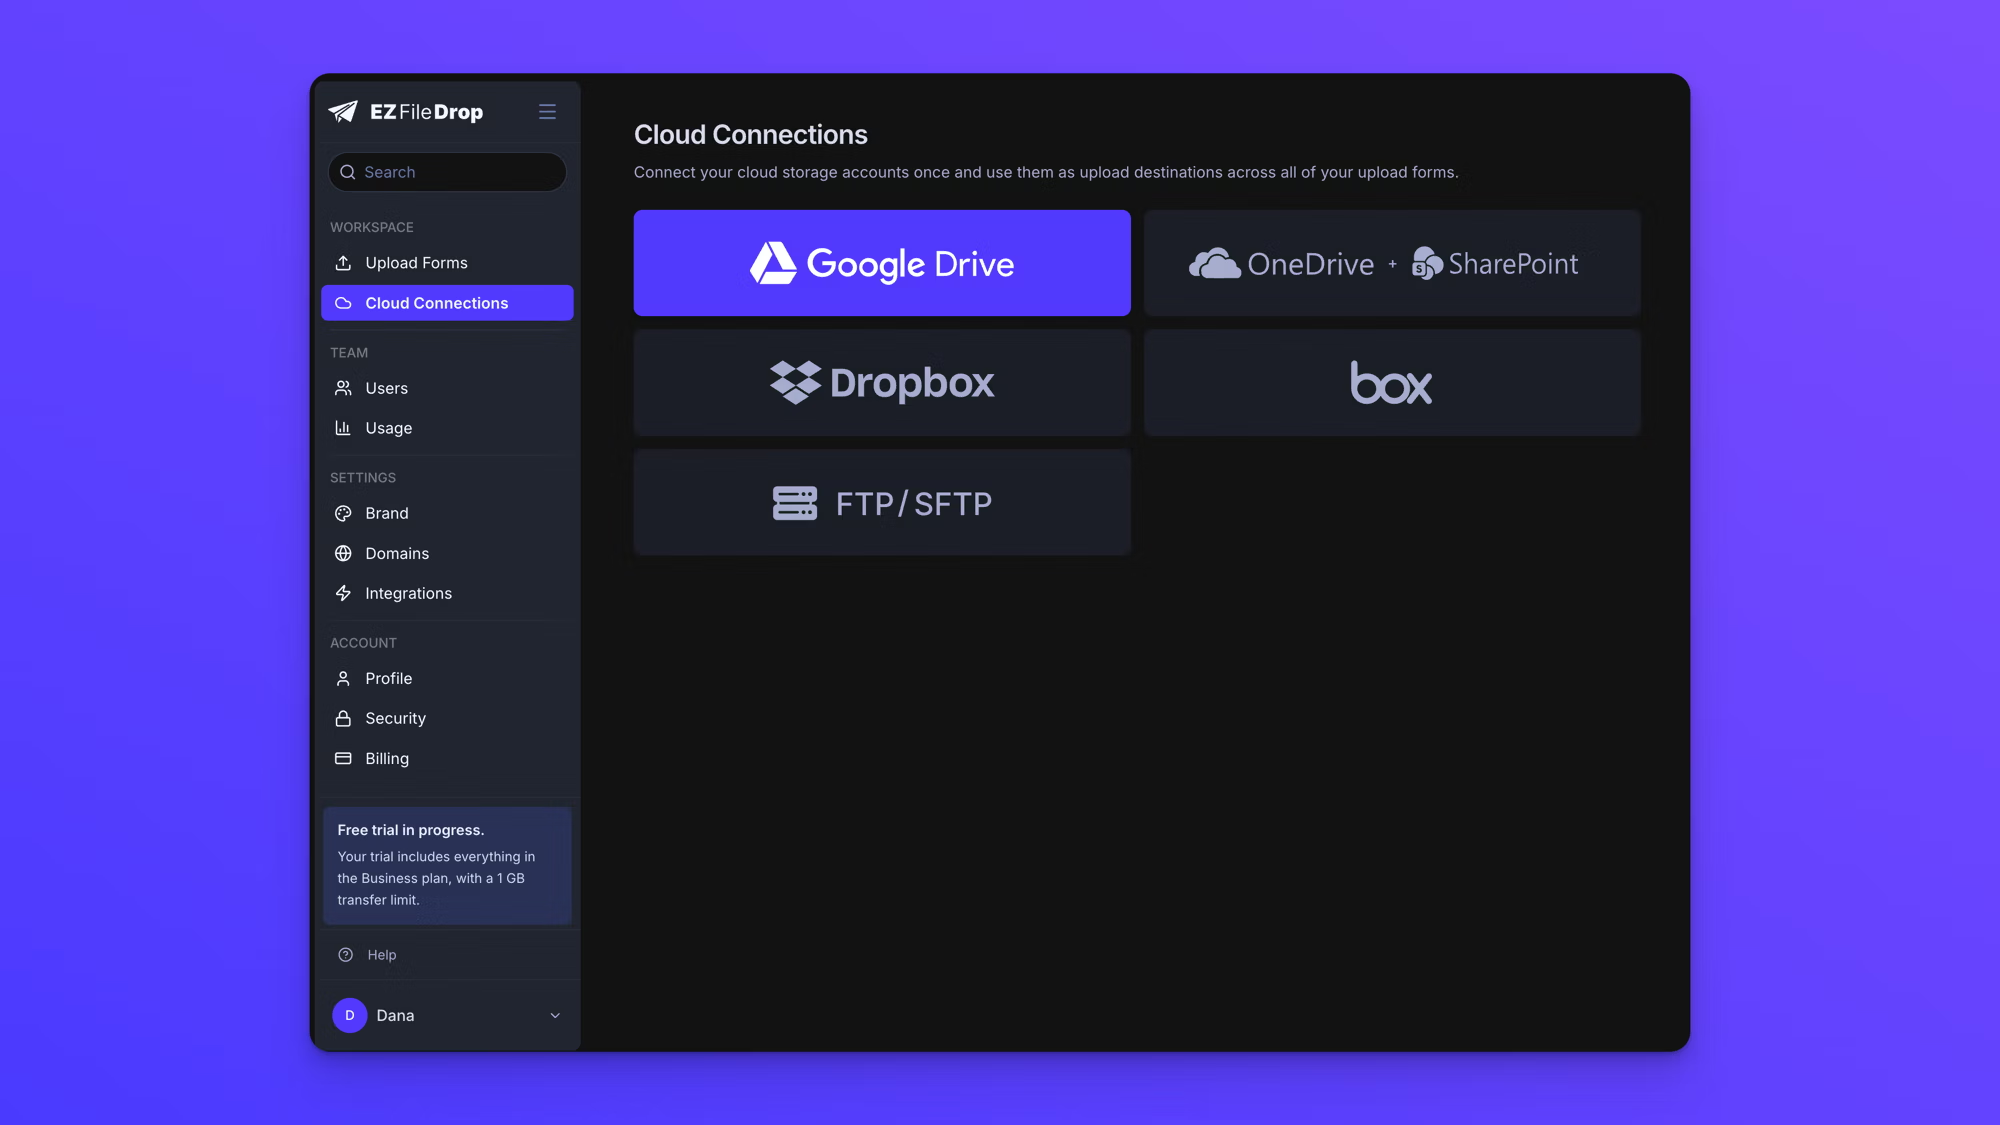
- The "Connect your Google Drive" dialog opens and explains how limited our access to your account is. Read it, then click Continue to Google.
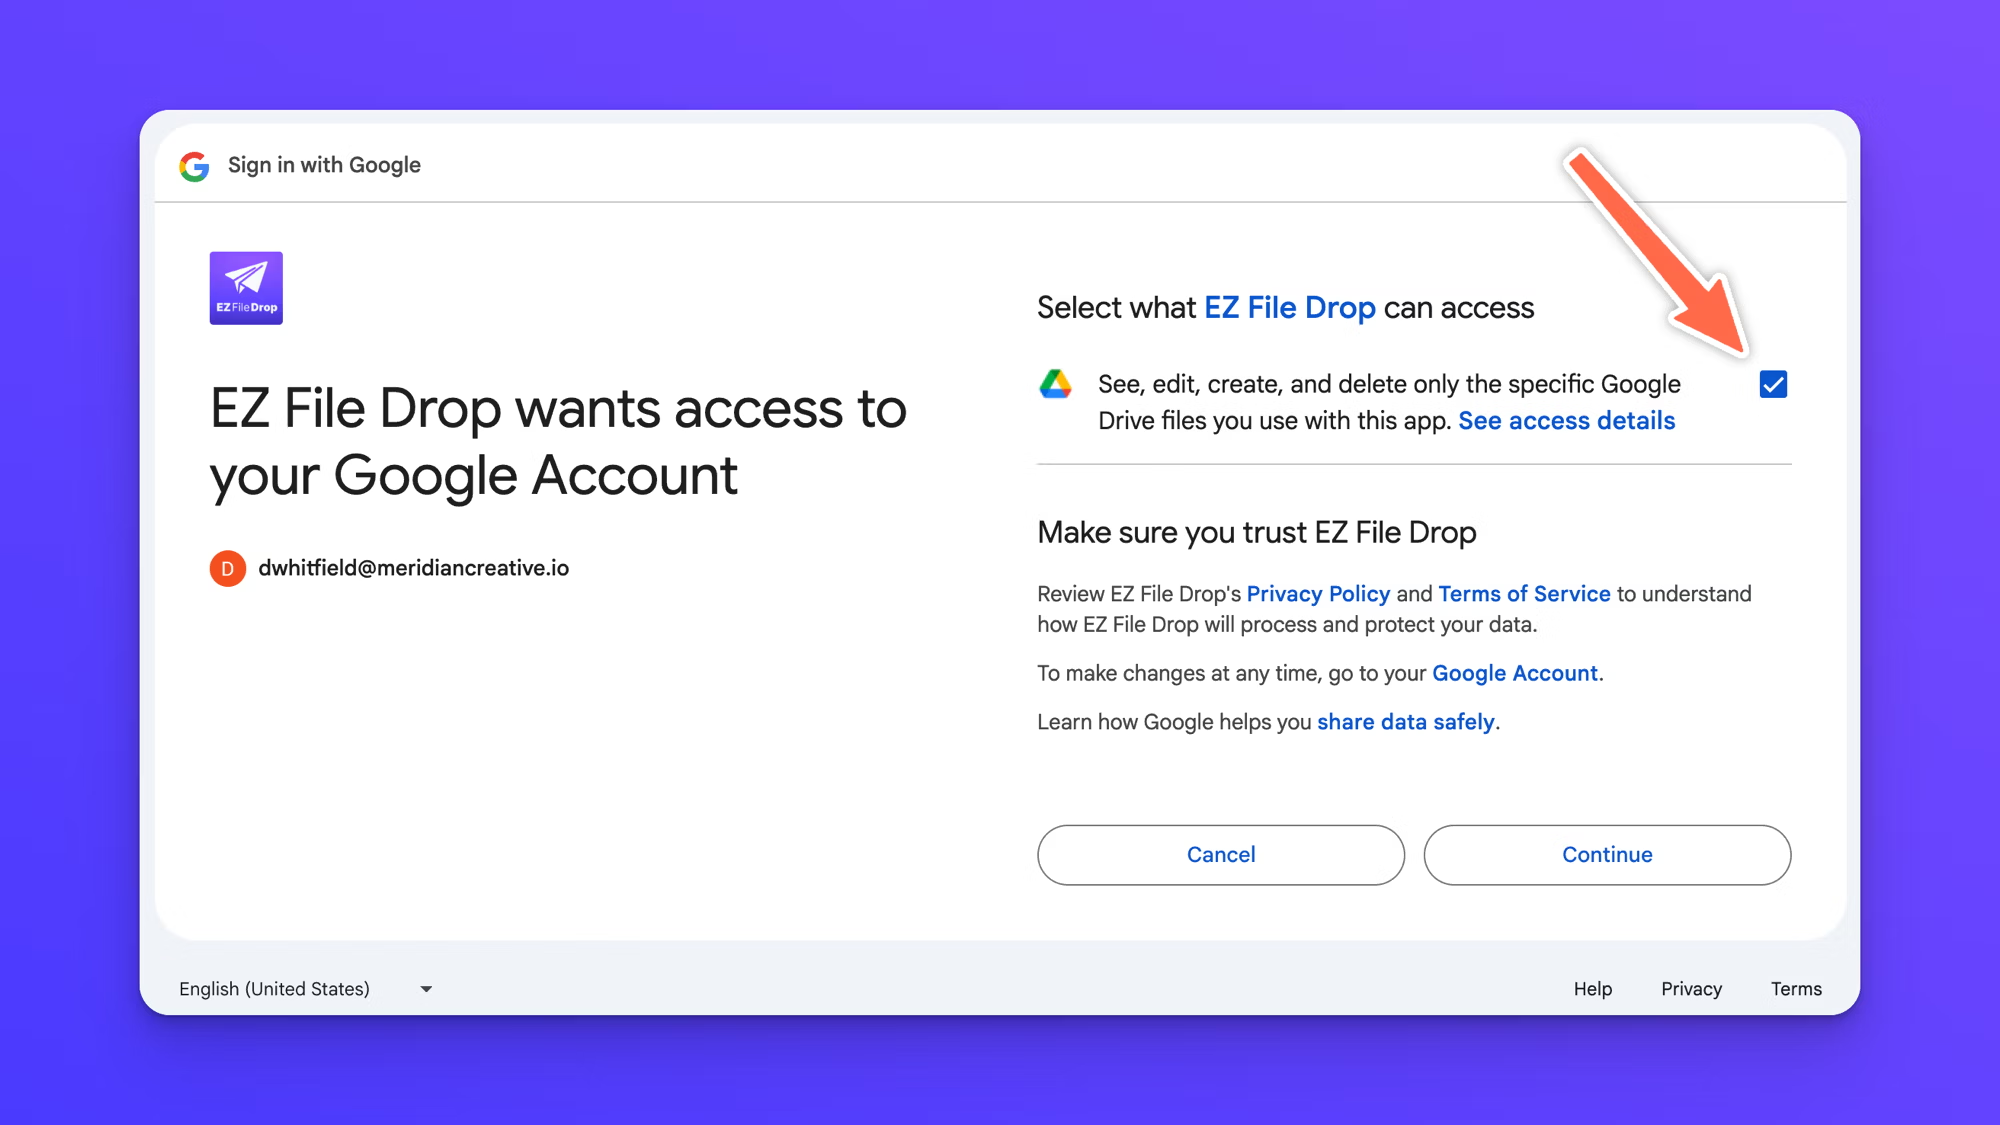
- In the Sign in with Google window, choose the Google account you want to use and confirm the account details Google shows.
- On the access screen, check the box that lets EZ File Drop see, edit, create, and delete the Drive files you use with it. It's unchecked when the screen loads, and files can't be delivered to your Drive unless you check it. Then click Continue.
- Google returns you to Cloud Connections, where your account now appears under "Your connections".
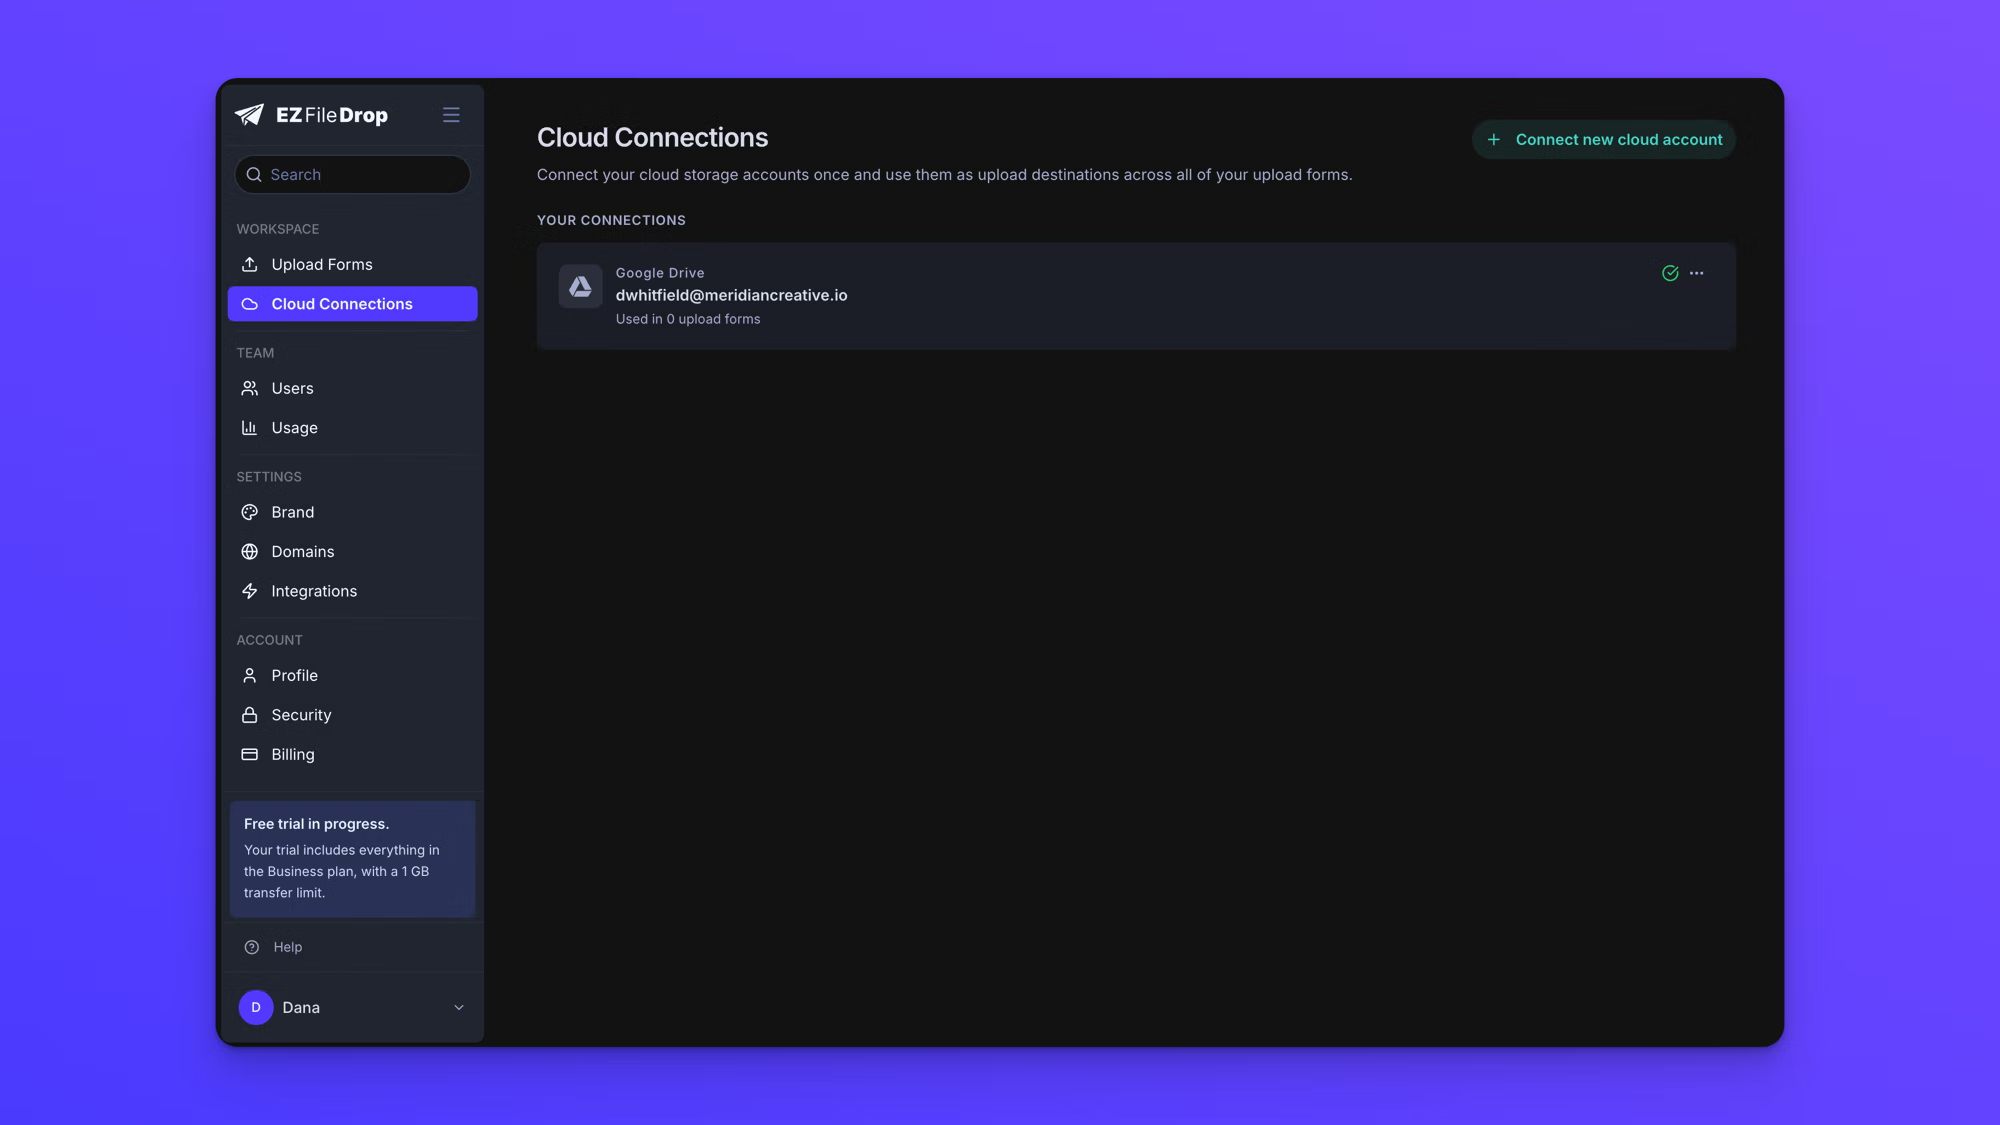
You can connect Dropbox, OneDrive, SharePoint, Box, or your own FTP or SFTP server the same way.
Create the form
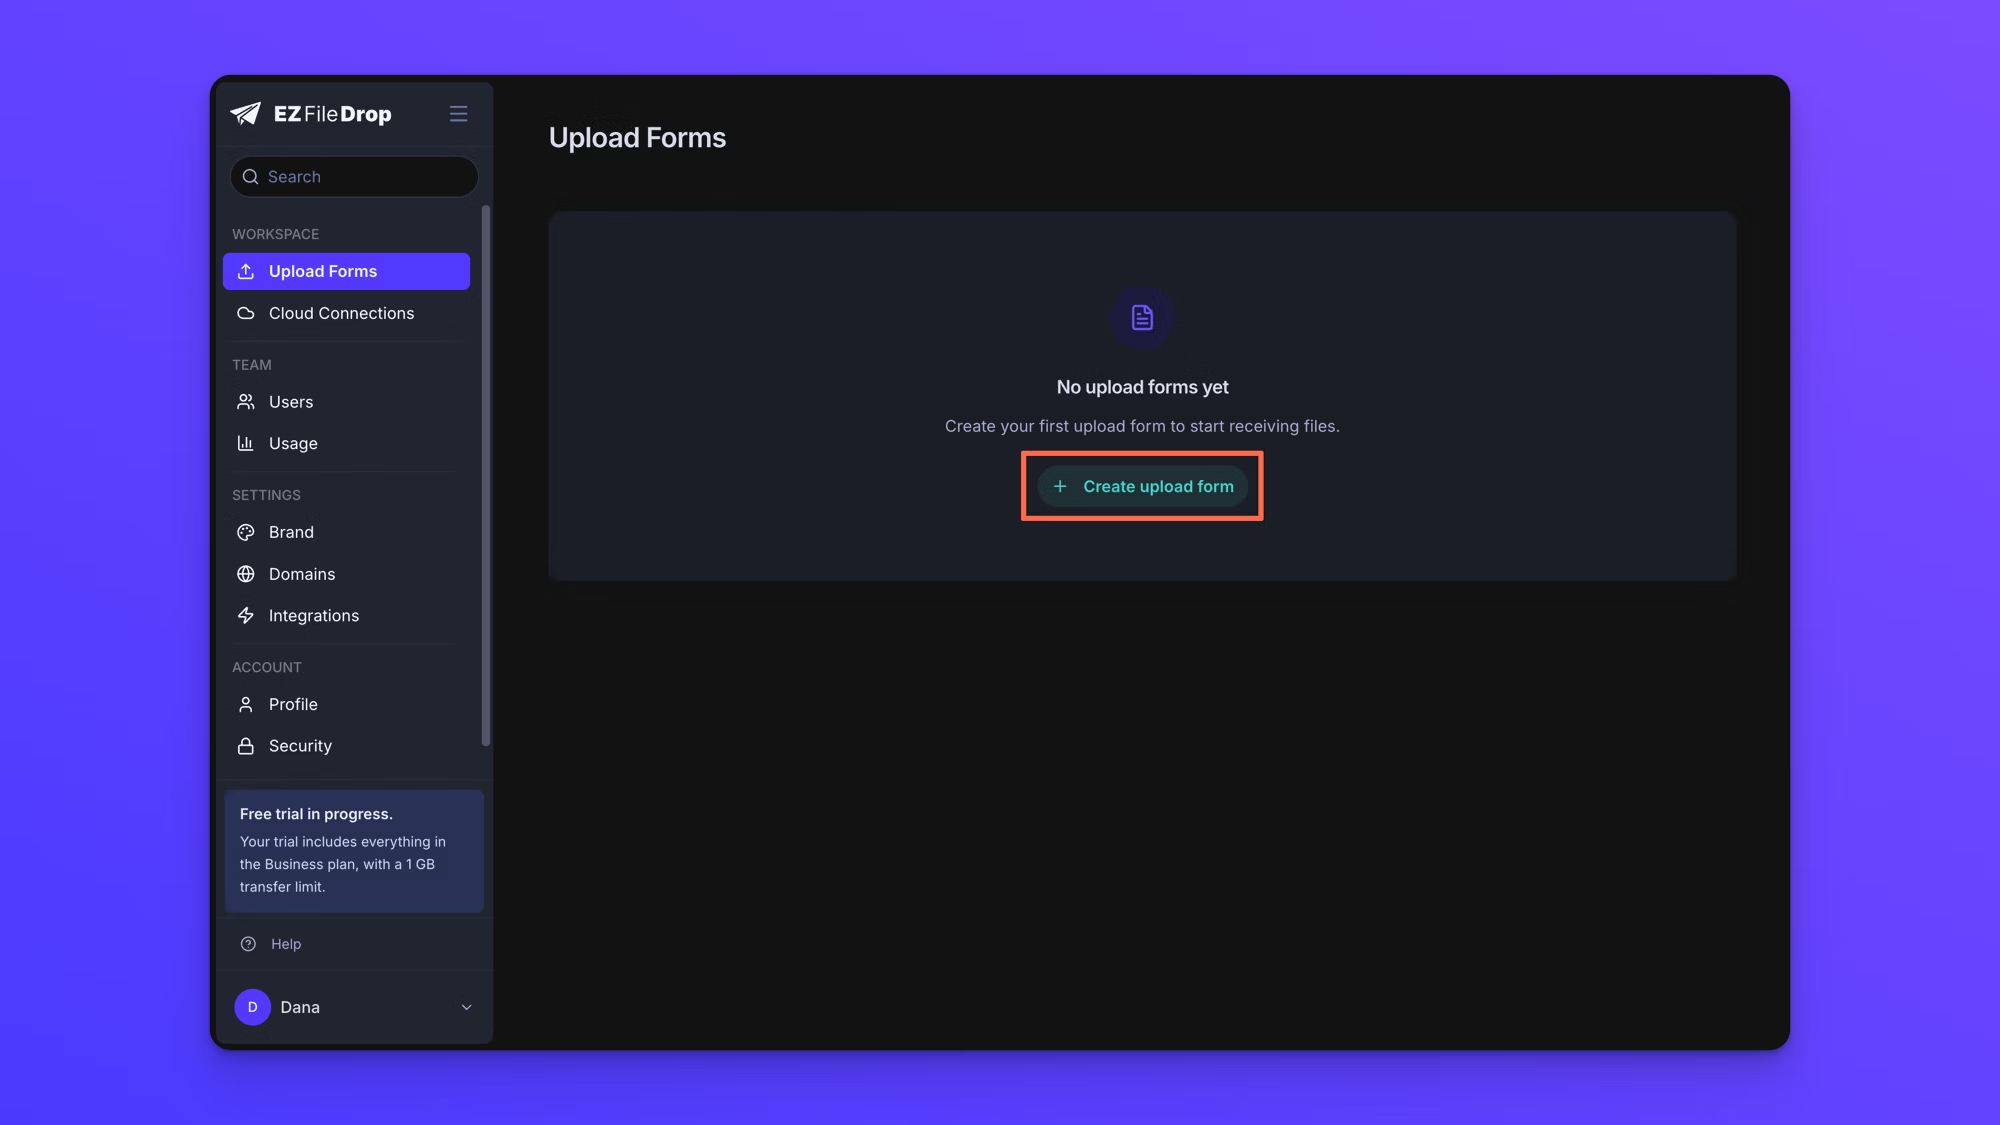
- In the left sidebar, click Upload Forms. Before you've made anything, this page is empty.
- Click Create upload form.
- In the "Create a new upload form" dialog, type a name under Name your upload form, then click Create. Your form opens in the builder.
Choose where files go
The default form already includes a file upload field. Before you publish, point the form at the connected account where its files should be delivered.
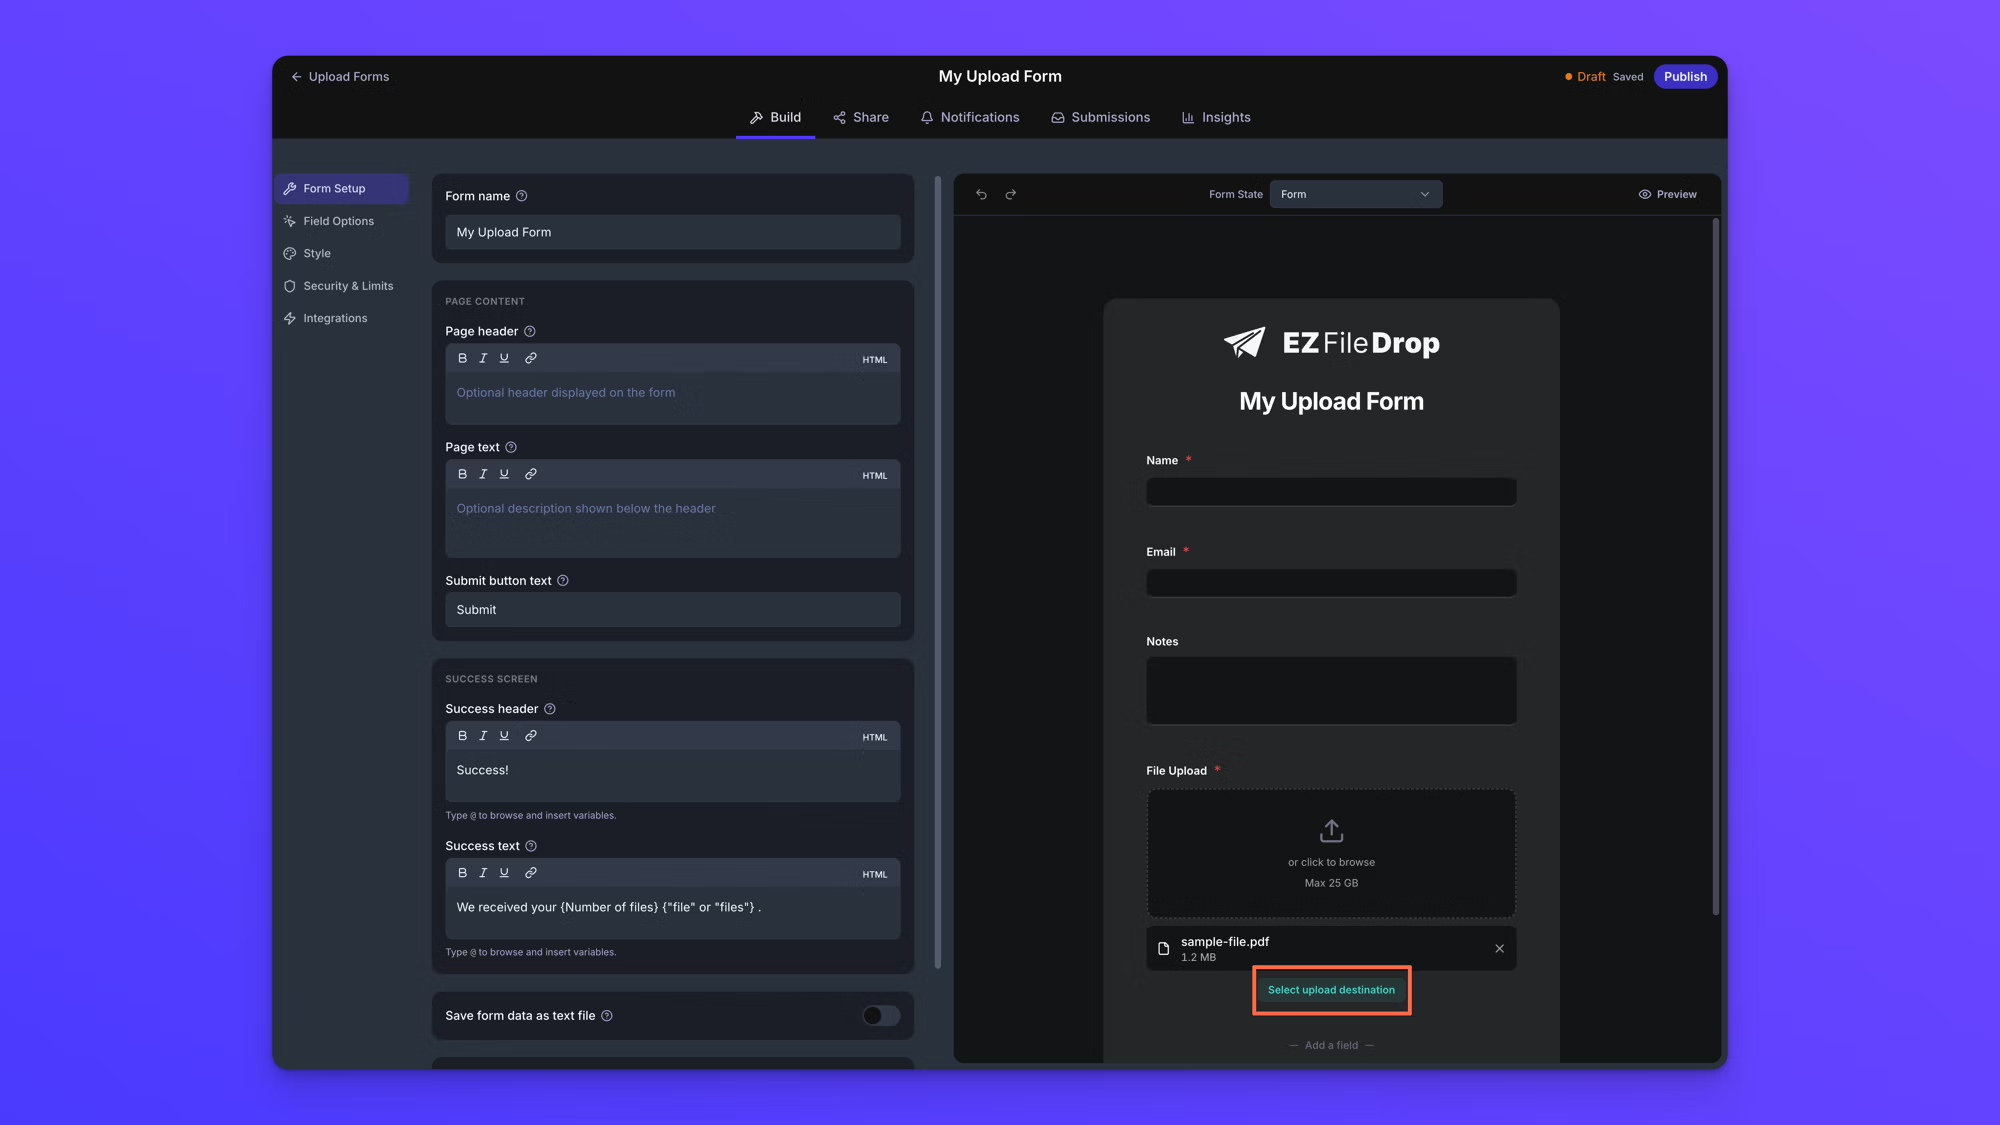
- On the form canvas, find the file upload field and click Select upload destination below it.
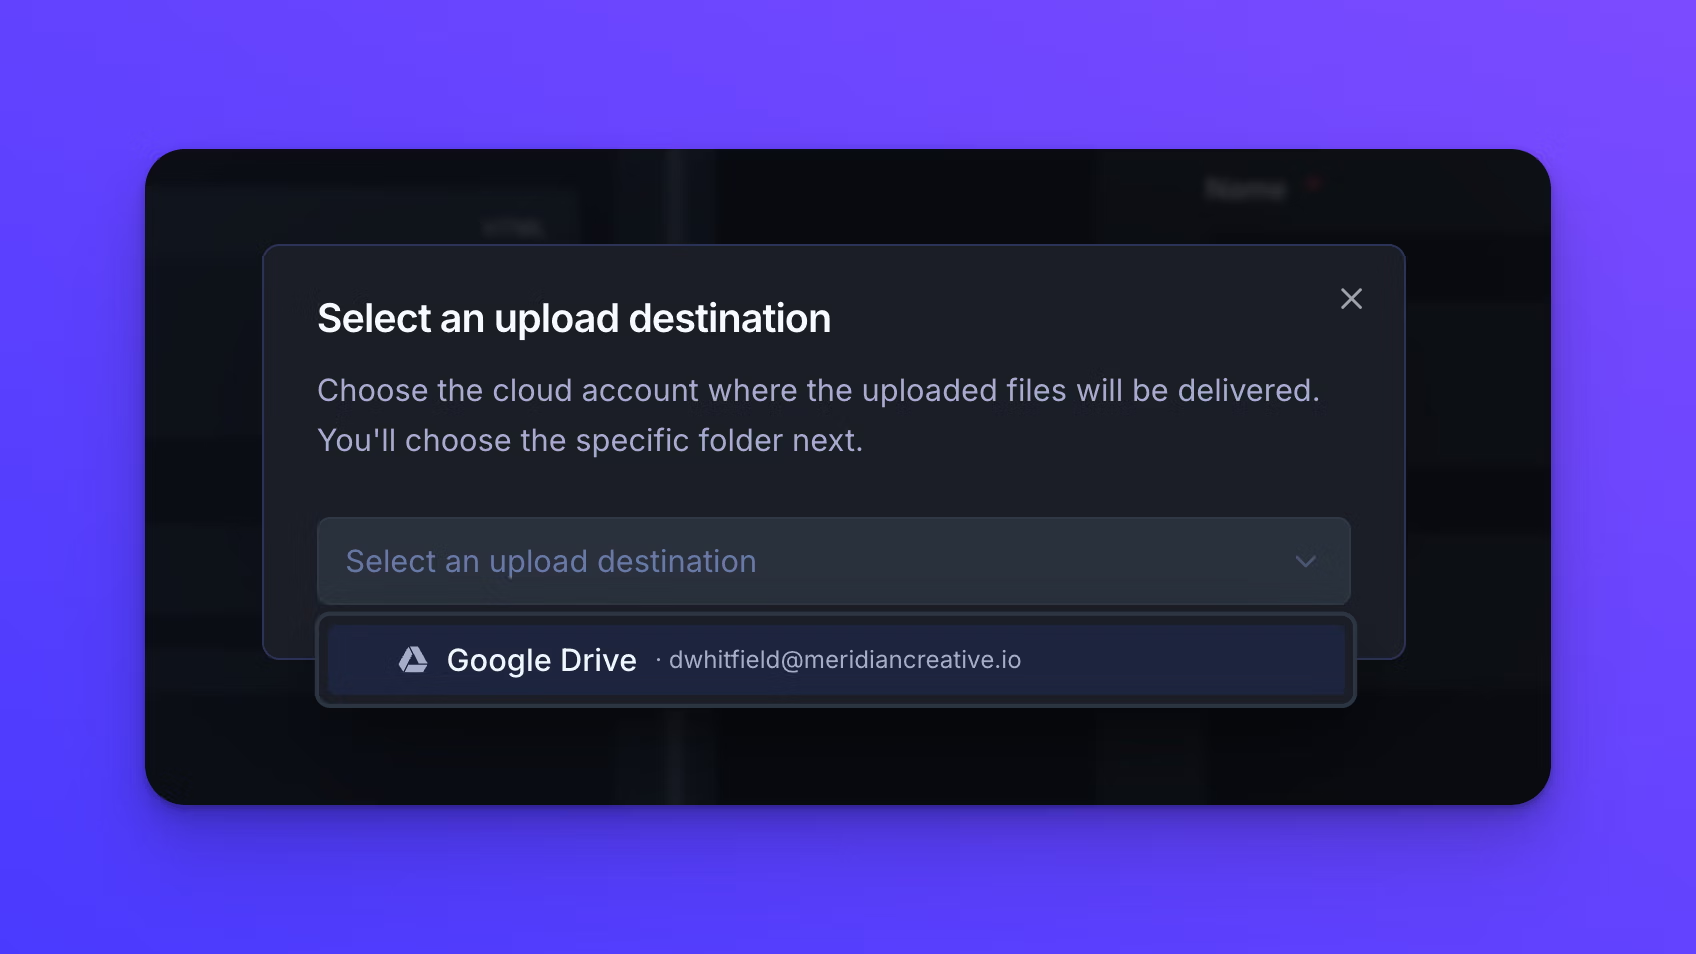
- In the "Select an upload destination" window, open the dropdown and choose your Google Drive account. The folder picker opens as soon as you choose.
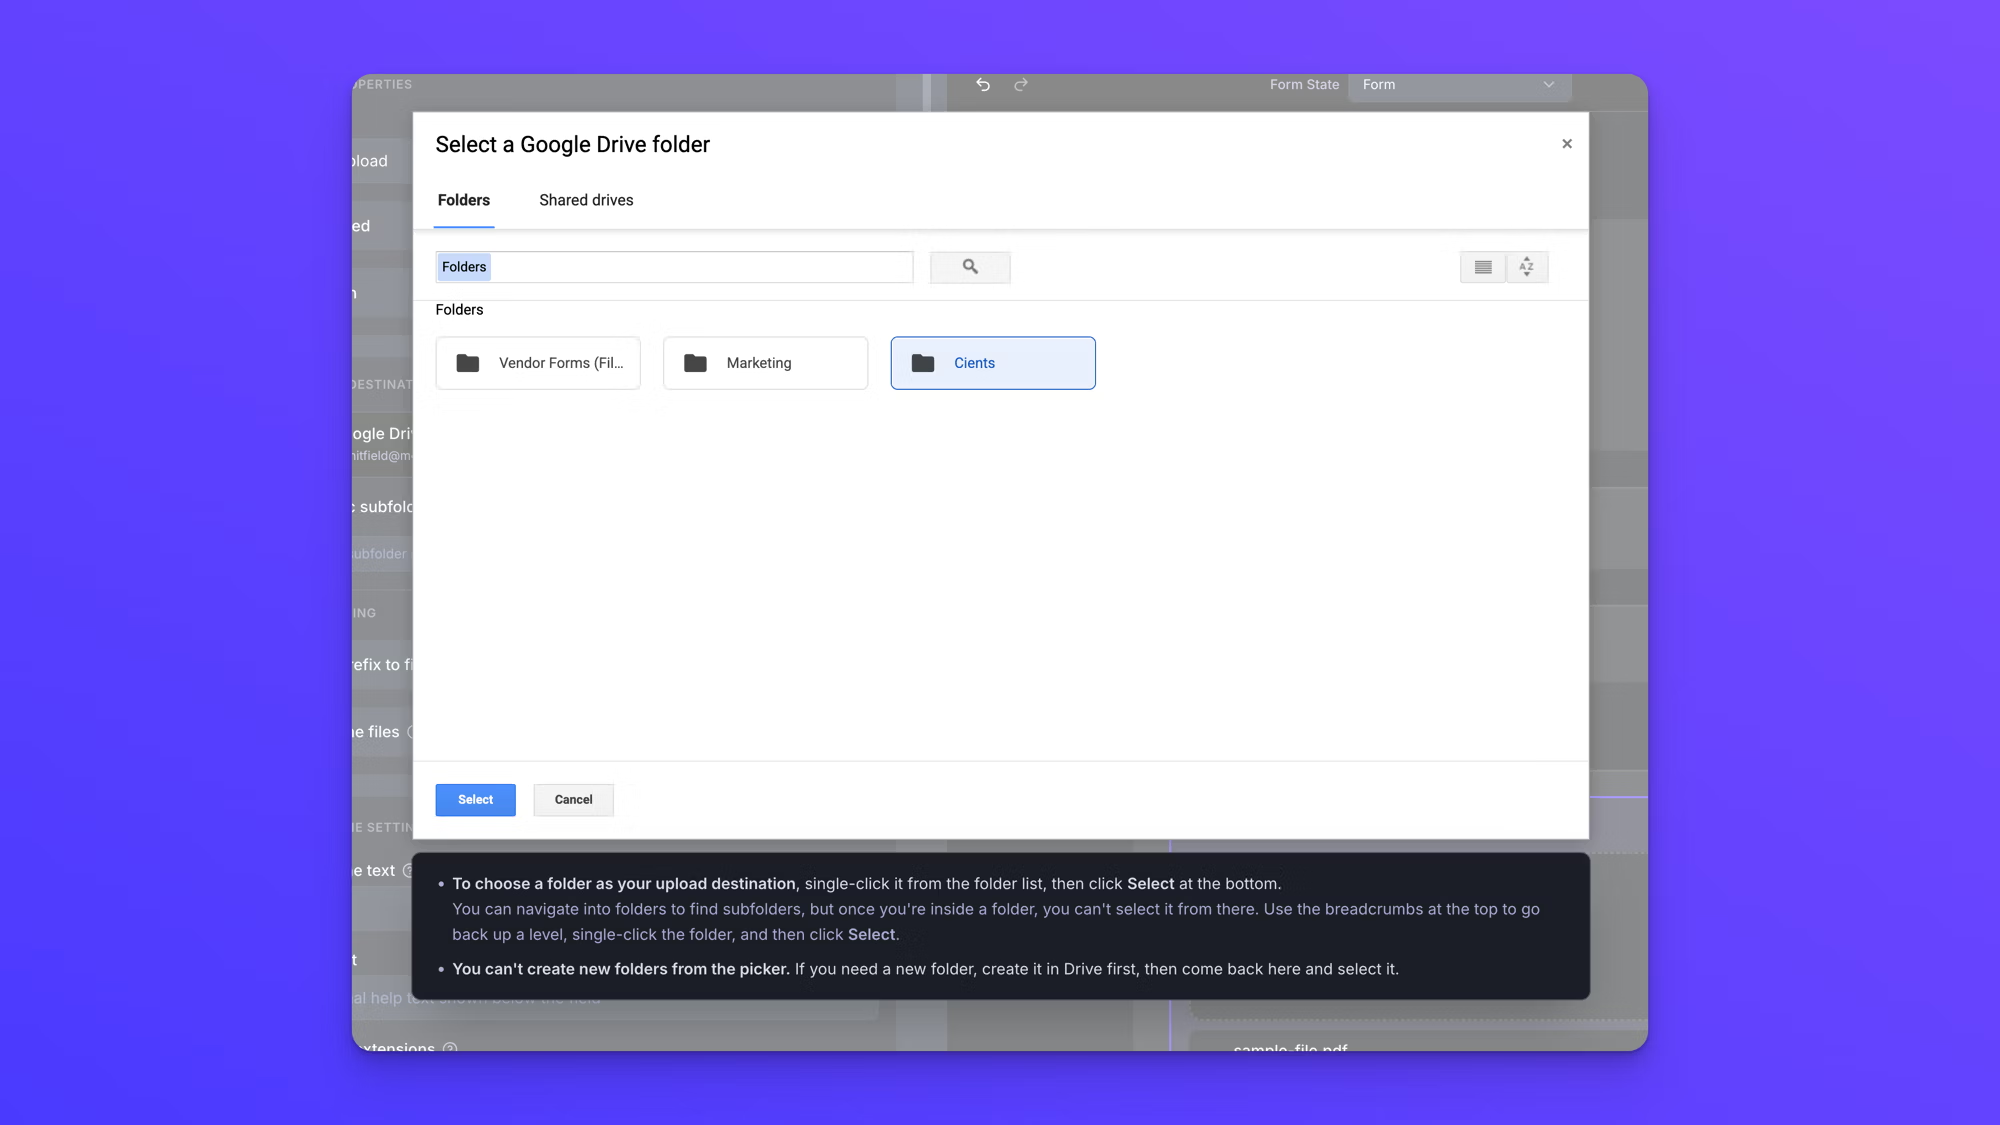
- The Google Drive folder picker opens. Single-click the folder where you want files delivered, then click Select. You have to choose a folder, so you can't select the top level of your Drive as the destination. You can open a folder to browse its subfolders, but to choose a folder you select it from the list rather than from inside it. New folders can't be created from the picker, so make the folder in Drive first if you need one.
Publish and share
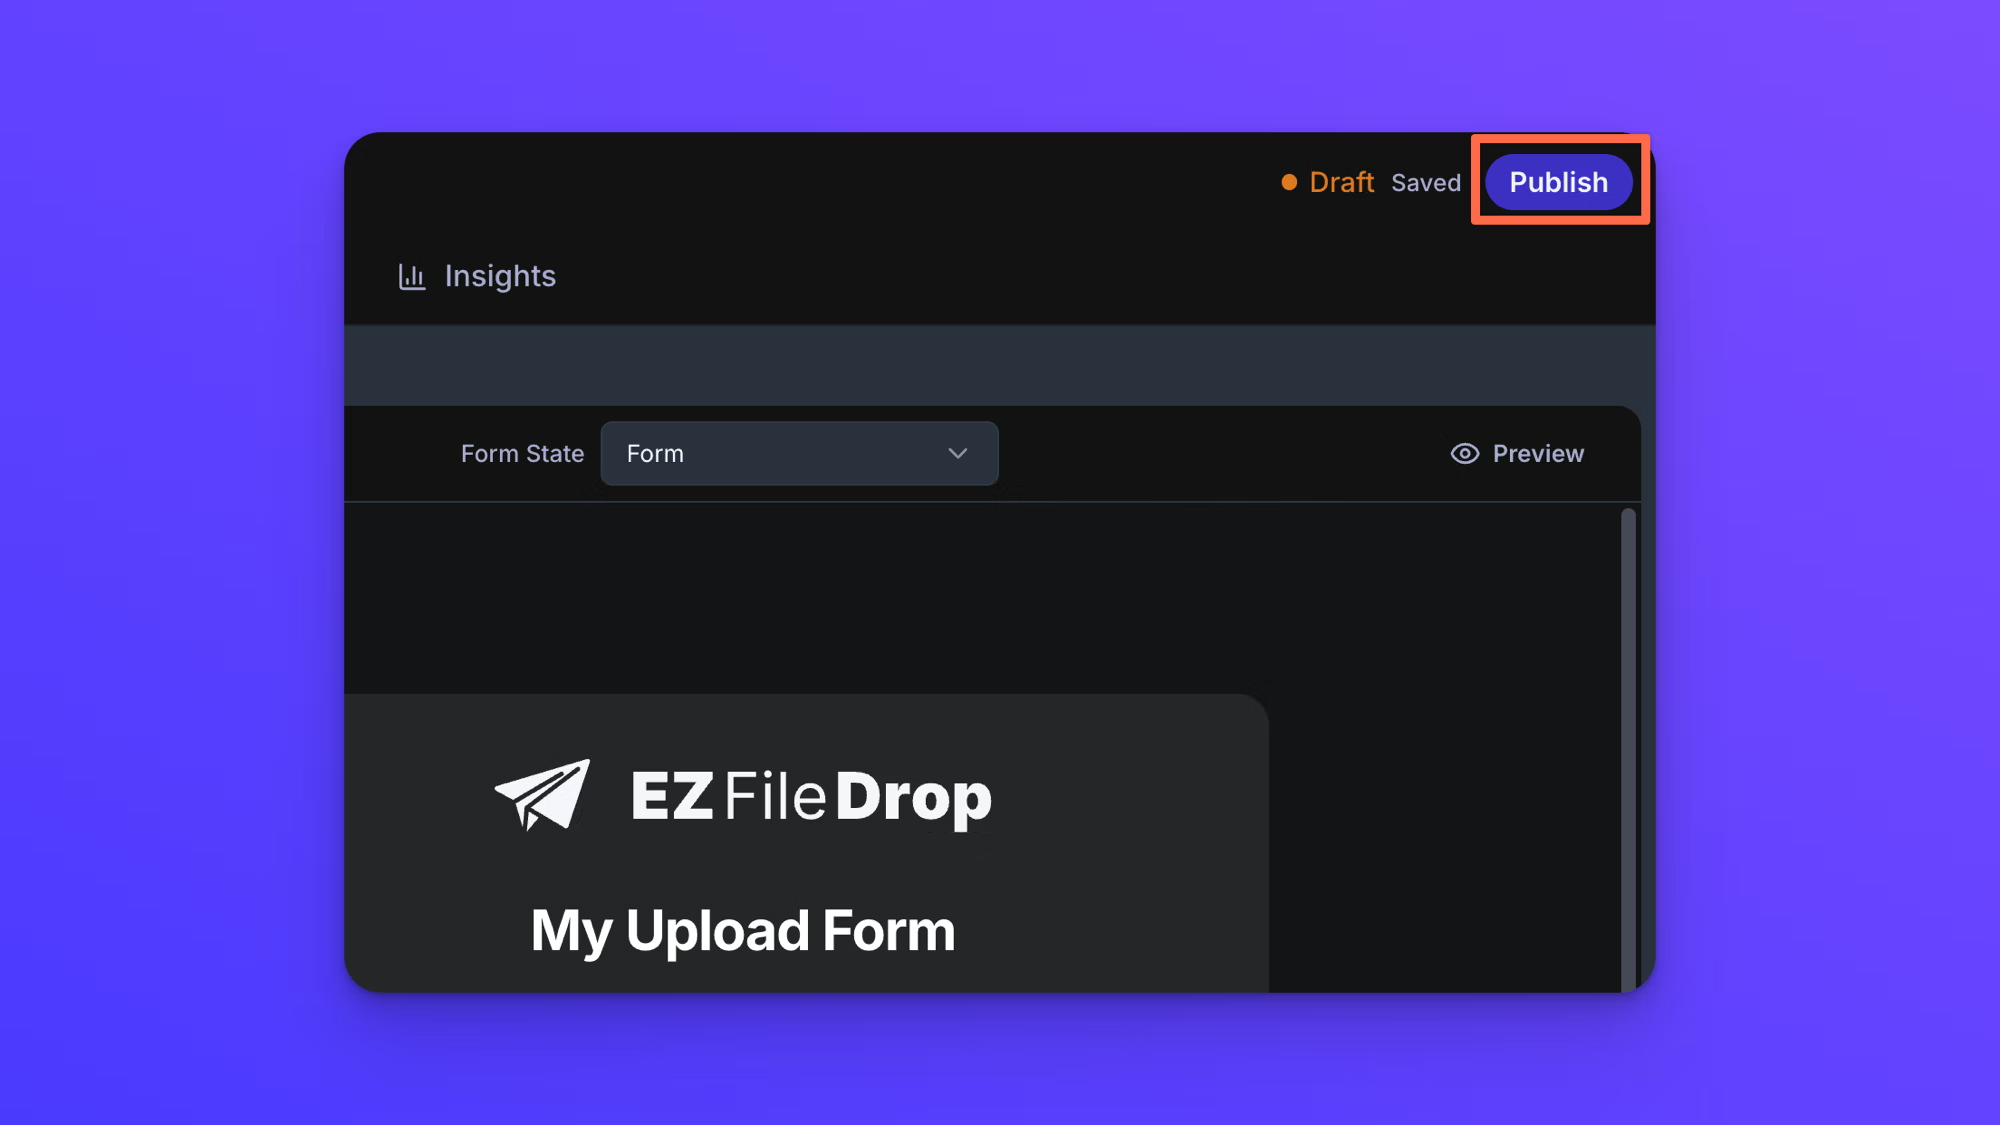
- Click Publish at the top right. Your form changes from "Draft" to "Live", which means it's now open and can accept uploads. For what each form status means, see Form statuses.
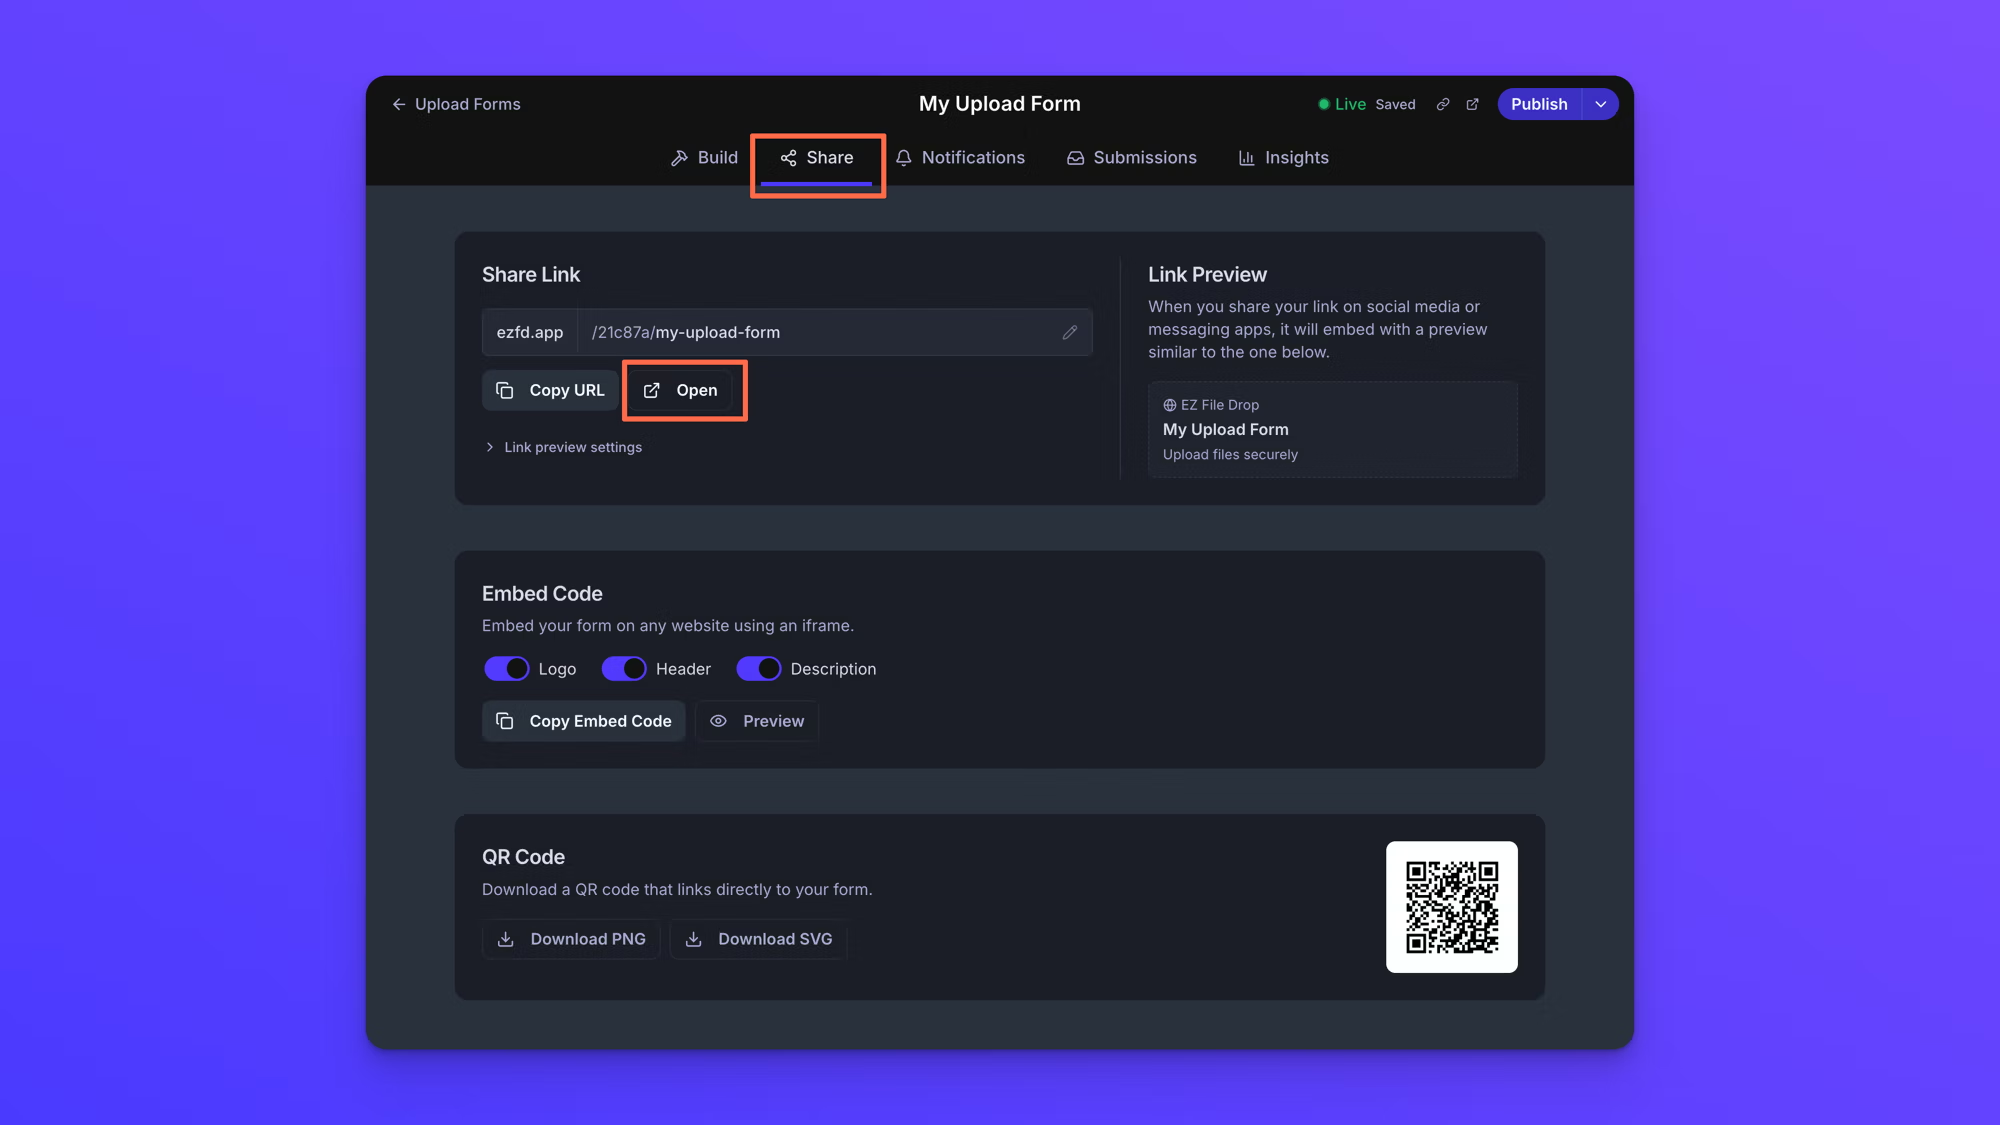
- Open the Share tab. Click Open to view your published form exactly as an uploader will see it. From here you can also copy the form's link, grab an embed code for your website, or download a QR code.
- Upload a test file through the form and submit it, then open the folder you chose in your cloud account to confirm the file arrived. This is the quickest way to check that everything is wired correctly before you share the form with anyone.
Your form is live. Anyone with the link can upload files, and every submission is delivered to the folder you chose. When you're ready to make it your own, style your form with your logo and colors, add or edit the fields it collects, or set up dynamic file organization so uploads sort into subfolders automatically.