How to Make a Branded Upload Portal for Google Drive
When a client hands off files, the experience should feel like working with you, not with Google. A branded upload portal for Google Drive replaces the generic "Untitled Form" page with your logo, your colors, and your instructions, while files still land directly in your Drive. It turns a transactional handoff into a brand touchpoint.
This guide walks through exactly what to brand, how to set it up, and the design decisions that separate a portal clients trust from one that feels like a DIY workaround.
Why a branded upload portal matters more than a generic form
Google's built-in options work, but they all show Google's branding, not yours. Google Forms displays the Google logo, uses Google's font stack, and requires uploaders to sign in to a Google account before they can submit anything. Shared folders are messy too, since anyone with the link can see the contents of the folder itself. Neither feels professional when a new client is sending over sensitive onboarding files or a high-value asset.
A branded upload portal sends a different signal. It tells the uploader that your business handles intake the way it handles every other client-facing interaction: intentionally, consistently, and with care. For agencies, law firms, accountants, and anyone whose first impression sets the tone for a project, that difference is worth the ten minutes it takes to build one.
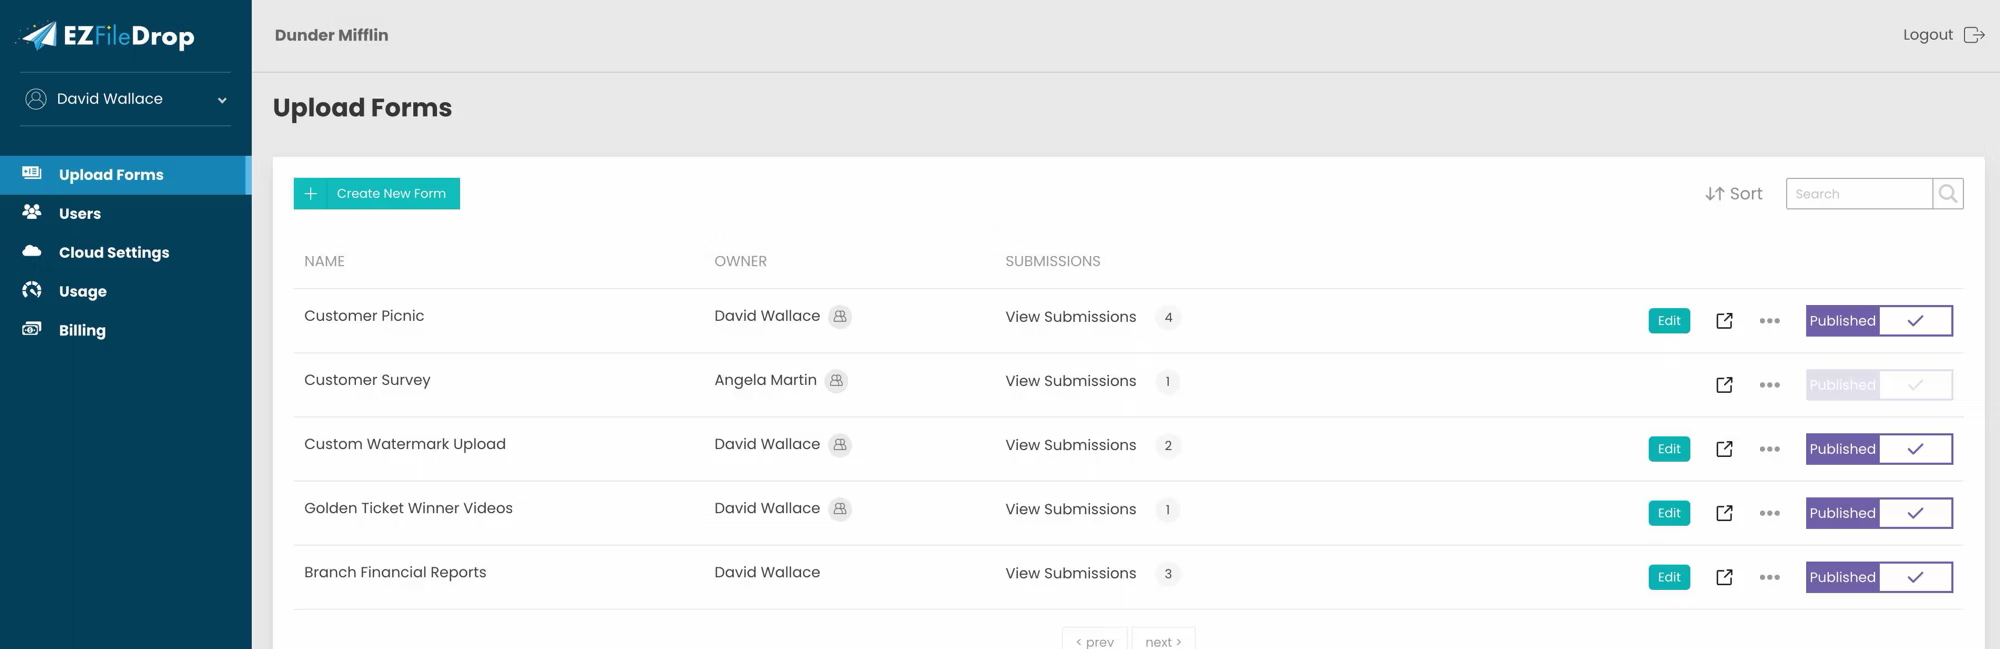
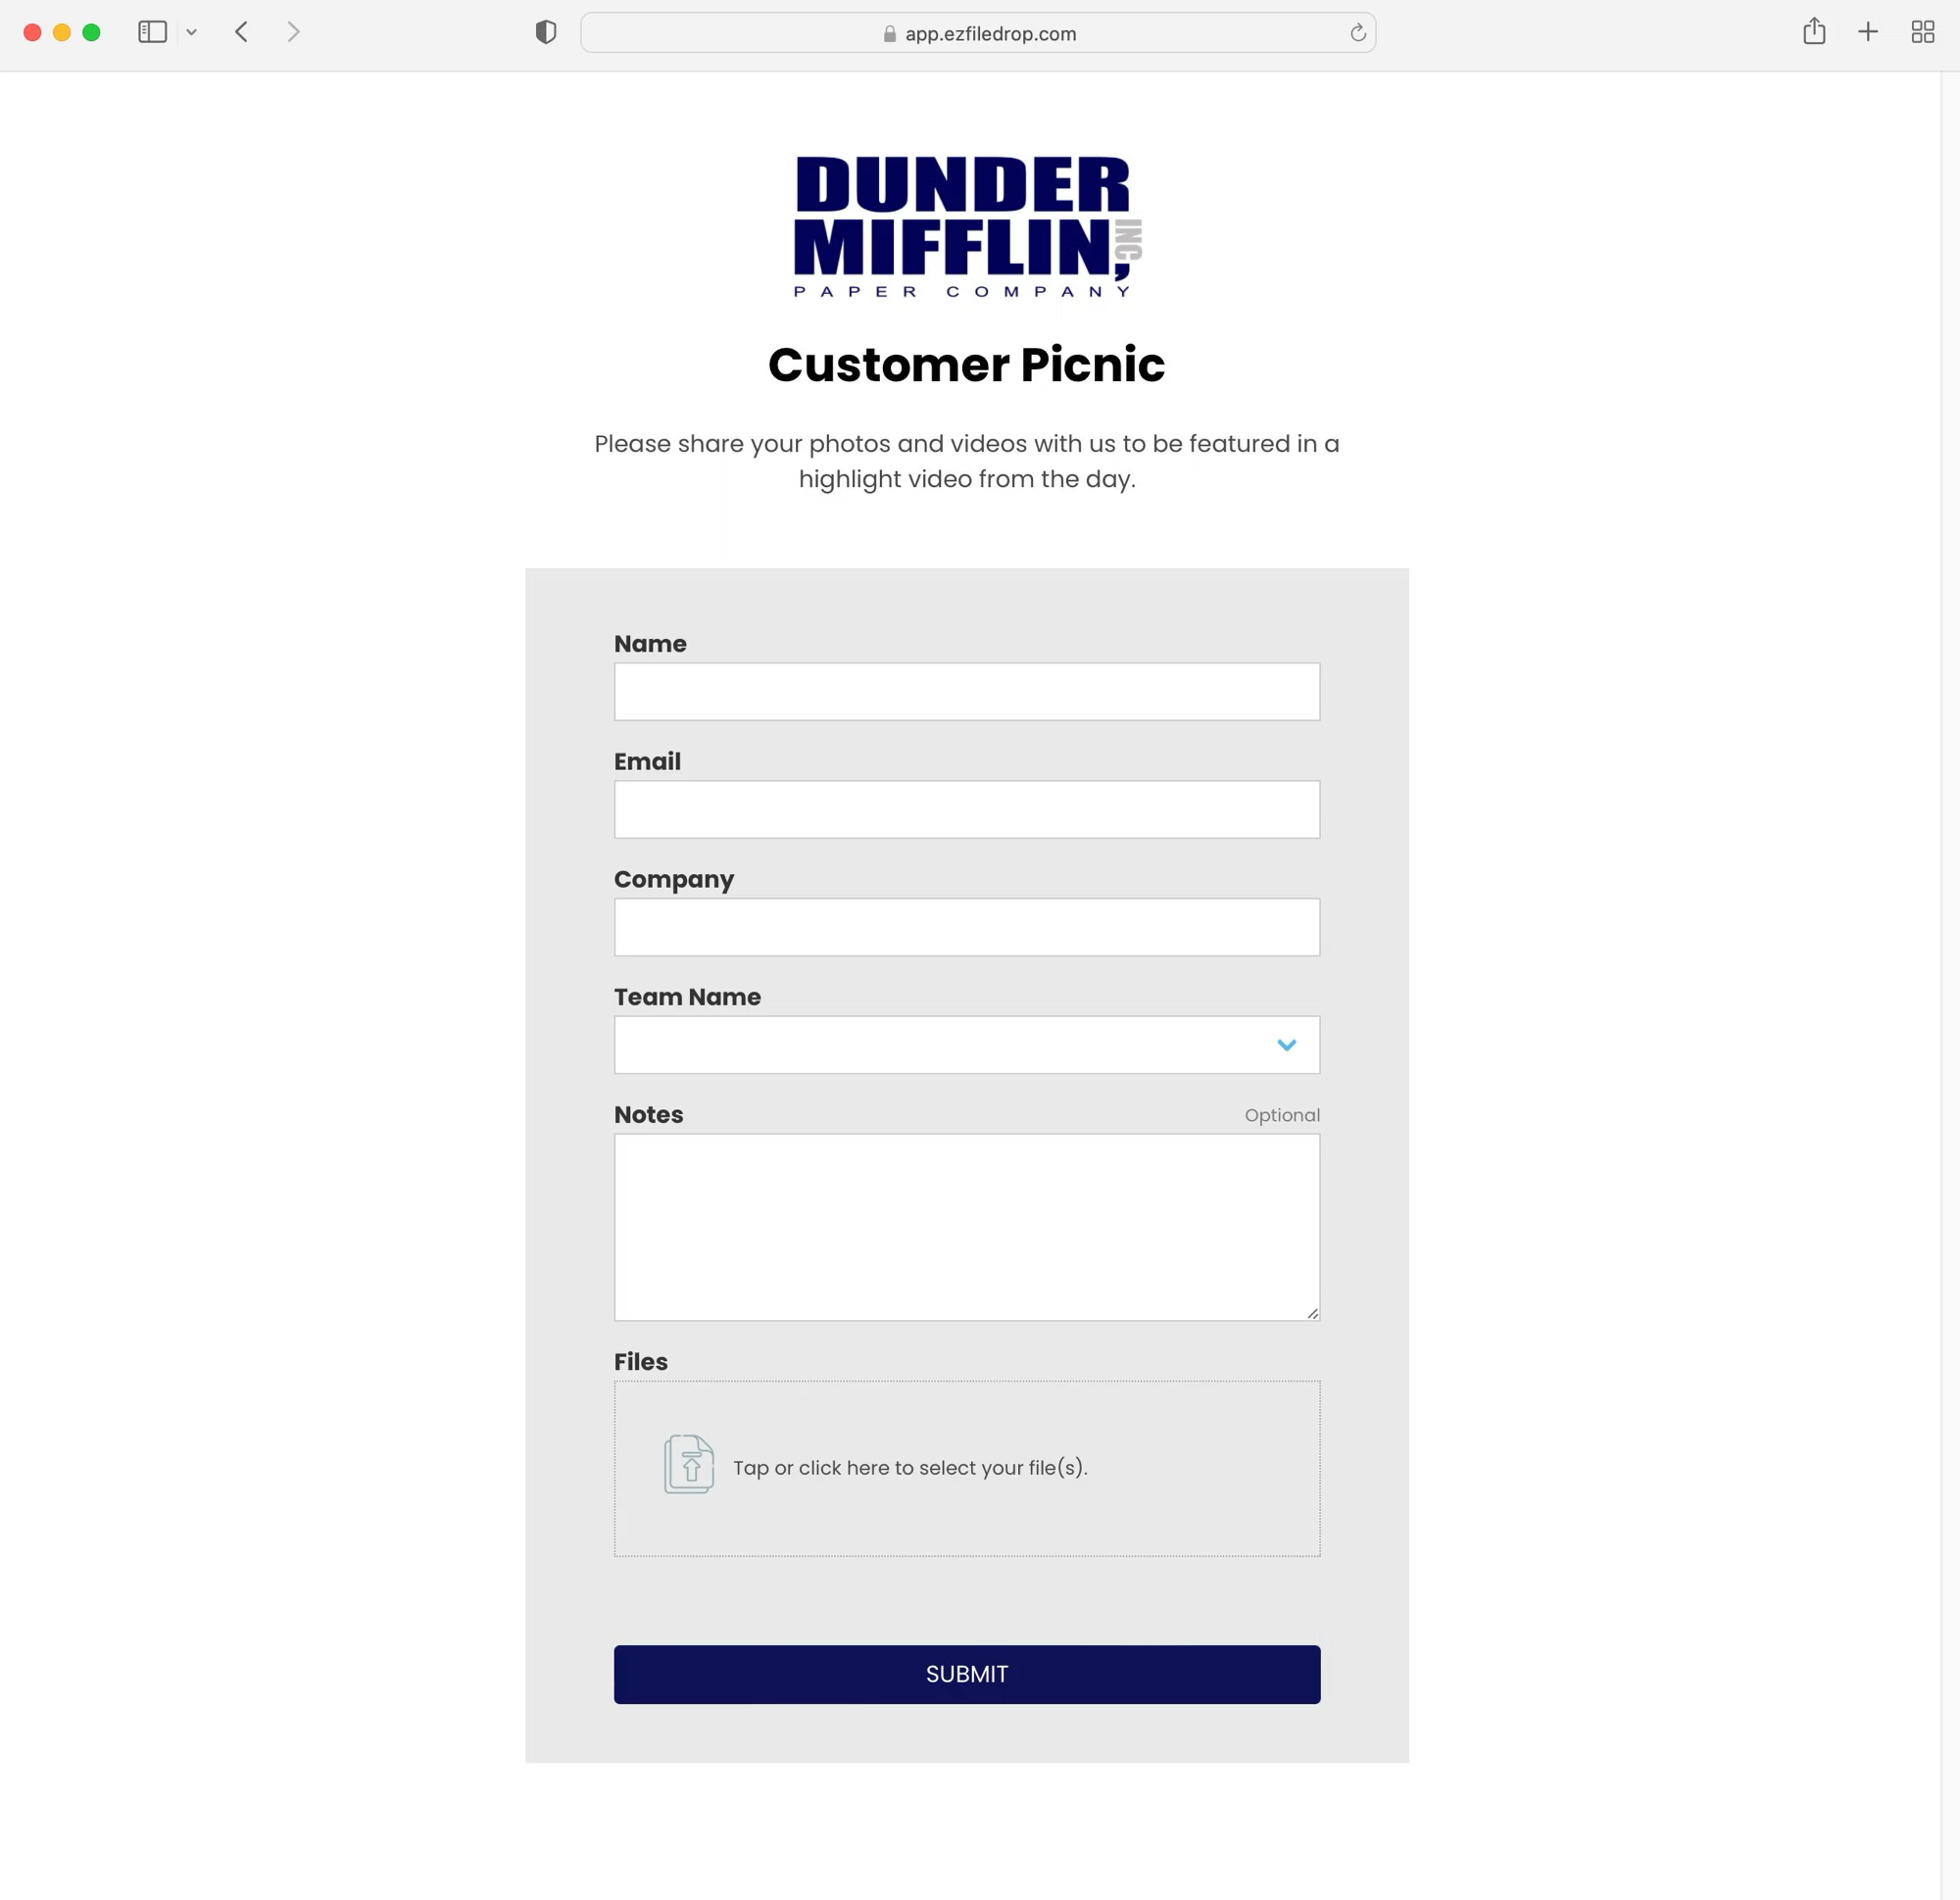
EZ File Drop is built specifically for this. It adds a branded intake layer on top of your existing Google Drive. Files still go exactly where they always have, into your Drive and in the folders you already use, but the uploader sees your brand instead of ours or Google's.
The six elements you can actually brand
A branded portal is more than just dropping a logo on a form. Here are the customization points worth thinking through before you start building.
Logo
Your logo sits at the top of the upload page. Use the same version of the logo that the client sees elsewhere in your brand: the one you'd put on an invoice or a proposal PDF.
Colors and fonts
EZ File Drop's style settings let you customize the colors and fonts on the form to match your brand. The cleanest approach is to pull the exact hex codes from your existing brand guide rather than eyeballing them, and use the same font you already use on your site.
Page copy and success message
The form's headline, field labels, and the success message shown after submission are all editable. Default copy like "Thank you" becomes a message that tells the client what happens next and when to expect a follow-up. This is the part most teams skip, and it's what makes a form feel like it actually came from your business.
Editable form slugs
Every form has its own editable slug, so instead of something like "ezfiledrop.com/yourteam/client-upload-76" you can publish it at "ezfiledrop.com/yourteam/client-intake" or "ezfiledrop.com/yourteam/project-files." A URL a client can recognize at a glance adds a small but real layer of trust when you're sharing the link over email or a proposal.
Email notifications
Most form tools send ugly default emails from a no-reply address. EZ File Drop lets you brand the confirmation and notification emails with your logo and custom messaging, or replace the default templates entirely with custom HTML. Most teams forget this step. It's also the part clients see twice: once on the form, and again in their inbox.
Embed, don't redirect
If your site already has a branded "Send Us Files" page, embed the form directly into it instead of linking out to a separate portal. WordPress, Webflow, Wix, and Squarespace all accept the embed code with no plugins required.
Step-by-step: build the portal
Here's the actual setup flow, focused on the branding decisions at each stage.
1. Connect Google Drive and pick your destination
Sign into EZ File Drop and connect your Google account with OAuth. Choose whether uploads go to My Drive or a Shared Drive. Shared Drive is usually the right call for team workflows, since files inherit team permissions automatically instead of sitting under one person's account.
Then point to a specific folder. For most use cases, a top-level folder called something like "Client Uploads" works well, with dynamic subfolders created per submission underneath it.
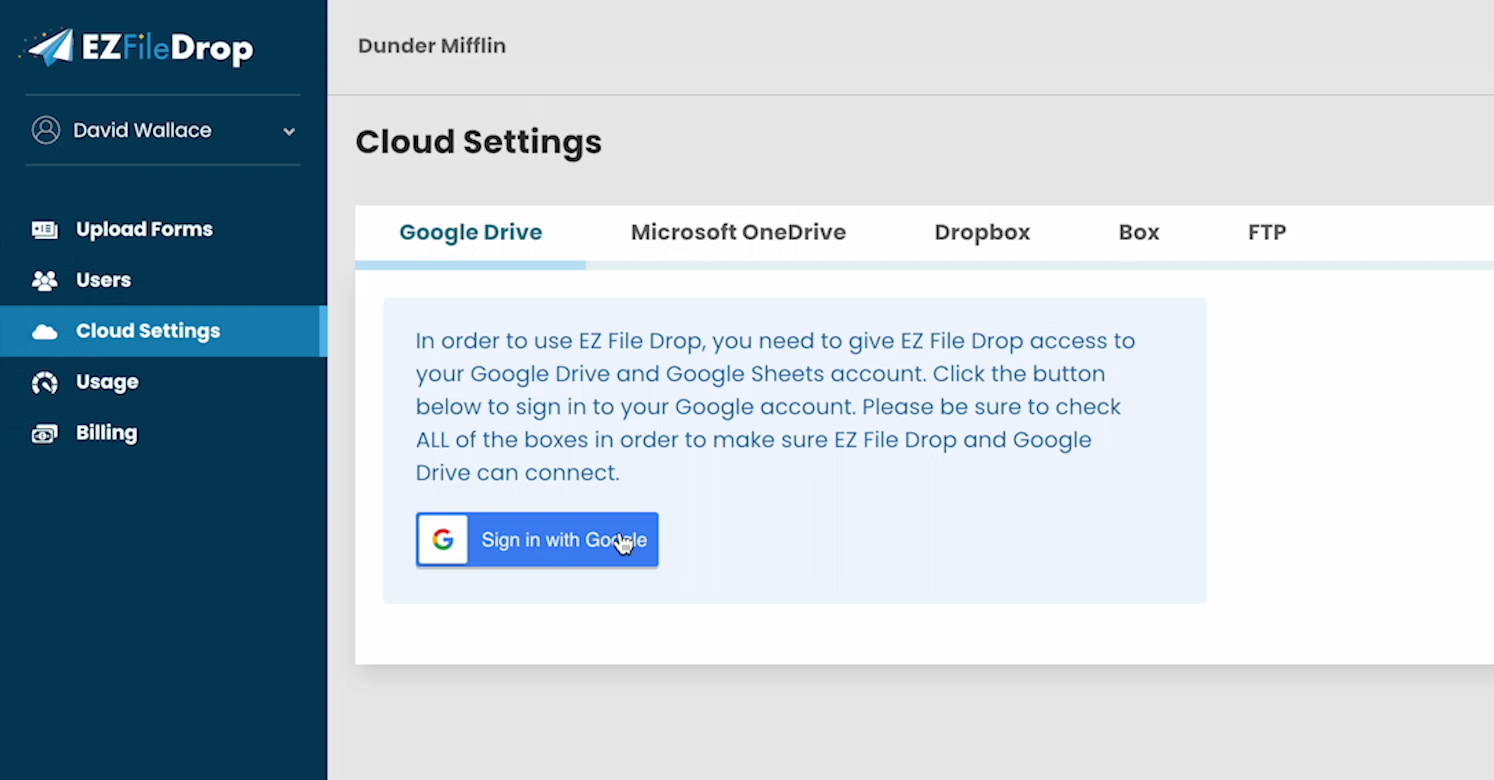
For the full walkthrough of this step, see the Google Drive connection tutorial.
2. Apply your visual brand
This is the step that actually makes it a branded portal. In the form's style settings, upload your logo and set the color values. Use the exact hex codes from your brand guide. If you don't have one, pull the colors from your website's CSS.
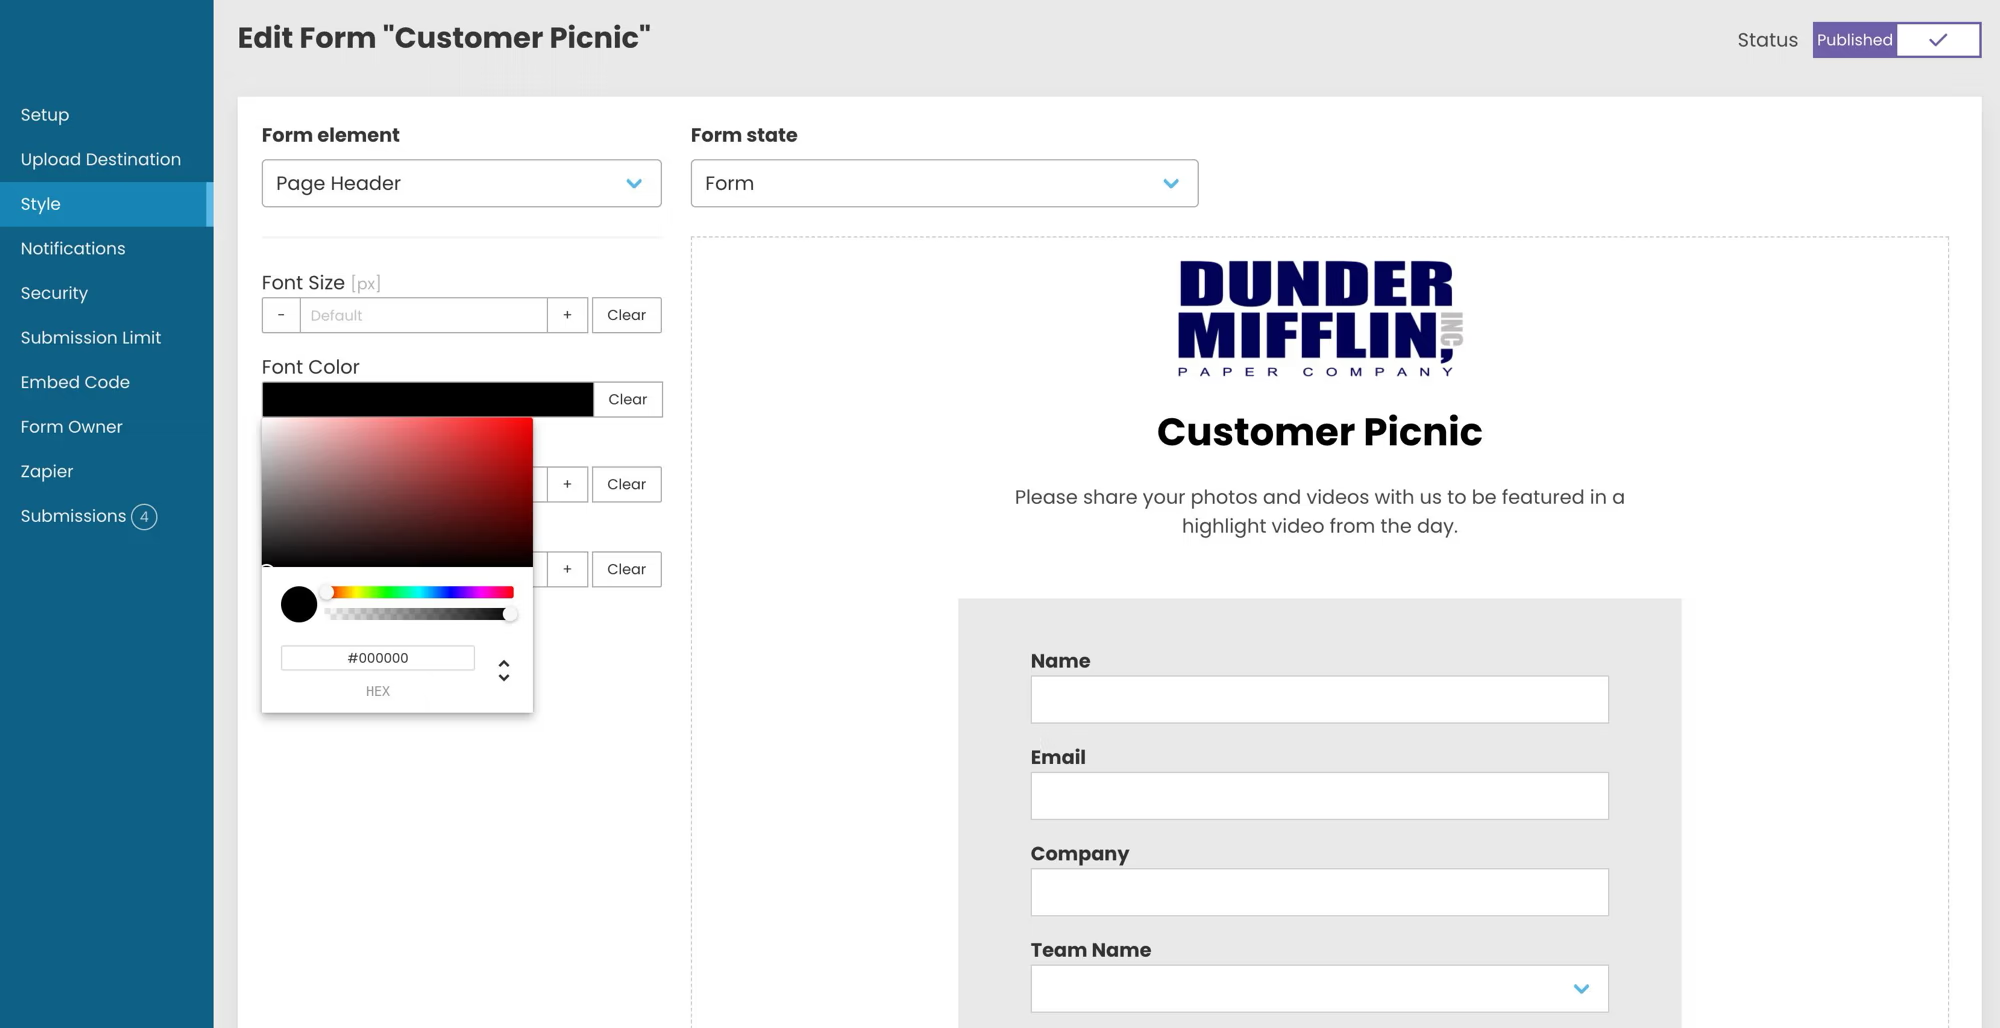
A few specifics that matter:
- Match the primary button color to your website's primary CTA color. Clients reading the form will subconsciously connect the two.
- Set a background color or upload a subtle background image. A plain white background can make the form feel unfinished.
- If you're embedding the form on an existing page, turn off the EZ File Drop header so the form blends into the surrounding page design.
The customization and styling tutorial shows exactly where each setting lives.
3. Write the copy in your voice
Default form labels work, but they're generic. A few places to rewrite:
- Page headline: something like "Send Us Your Project Files" instead of just the form title
- Field labels: "What are you working on?" reads more like your voice than a clinical "Project Type"
- Success message: tell the uploader what happens next. "Thanks, we've got your files. Your project manager will follow up within one business day."
This is the highest-leverage change most teams skip. The form takes ten seconds to rebrand visually, but the copy is what makes it feel like it came from your business specifically.
4. Configure branded email notifications
When a file comes in, EZ File Drop can send notifications to three recipient groups: the uploader (confirmation), your team, and any third-party recipients you want to loop in. Each of these is worth branding.
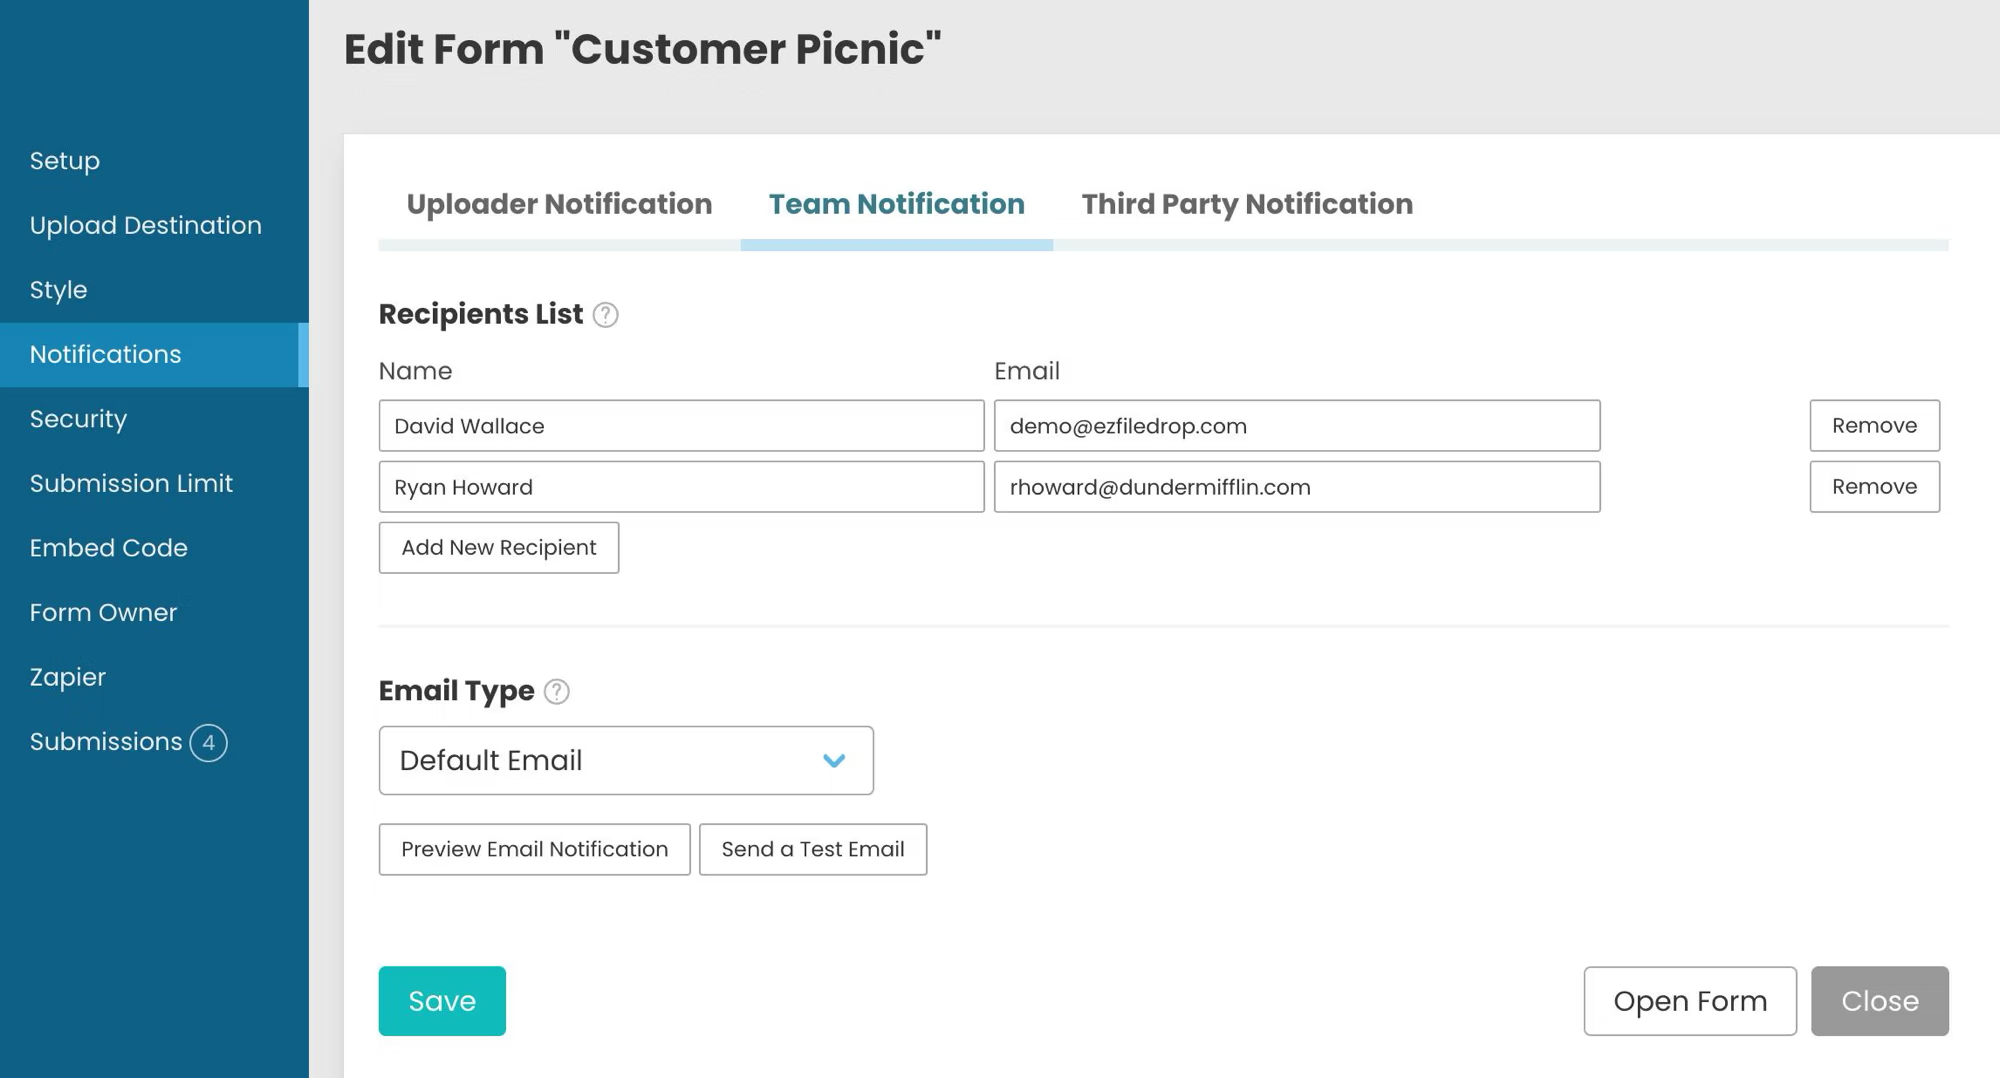
Use the default email templates with your logo and custom messaging, or paste in your own custom HTML to match your brand exactly. For the uploader's confirmation email especially, this is a second brand impression right after they submit. For a detailed walkthrough, see the email notifications tutorial.
5. Publish on a branded URL or embed it
Two options, both valid depending on your setup.
The standalone URL approach gives you a shareable link like "ezfiledrop.com/yourteam/intake." Send it directly to clients, link to it from your email signature, or include it in a proposal. It's fast and requires no website changes.
The embed approach drops the form into an existing page on your own domain. The URL the client sees is "yourcompany.com/send-files," which keeps the entire interaction on your domain from start to finish. The embed tutorial has the copy-paste snippet for each platform.
6. Test the full experience end-to-end
Before sharing the URL with a real client, run through it yourself as if you were the uploader:
- Submit a test file from a phone (most clients will upload from mobile)
- Confirm the file landed in the correct Drive folder
- Check that the confirmation email looks right in an actual inbox, not just in preview
- Make sure the success page displays the copy you wrote
This step catches the small issues: a field label that wraps awkwardly on mobile, a notification email that got routed to spam, a folder name missing a submitted value.
What a branded portal looks like in practice
Here's a quick view of how different businesses use this.
The pattern across all of them: the portal reflects the business, not the tool. That's the point.
A quick note on Google Drive specifics
Because everything flows into your existing Drive, a few Google-specific details are worth knowing.
Shared Drives work well for team intake because Google Workspace treats them as team-owned storage. Files don't count against any single user's quota, and anyone with Shared Drive access can view or edit incoming submissions without extra sharing steps.
If you're on a personal Google account instead of Workspace, My Drive is your only option, and uploads count against your personal 15 GB (or whatever your Google One tier provides). For high-volume intake, this is usually the point where upgrading to Workspace or Google One makes sense.
For a deeper look at how the integration works, see the Google Drive integration page.
Wrapping up
A branded Google Drive upload portal is less about the technology and more about the decision to treat intake as part of your client experience. Once it's set up, every file that comes in does so through a channel that looks, sounds, and feels like your business — not a generic form.
You can try EZ File Drop for free with no credit card required. The 7-day trial is on the Business plan, which includes all the branding and embedding features covered above.
Written by Matt Townley
Try EZ File Drop Today!
Start Free TrialIntegrations
EZ File Drop + Google DriveEZ File Drop + DropboxEZ File Drop + OneDriveEZ File Drop + BoxStay in Touch


